
The easiest way to seam two crochet pieces together: The flat slip stitch
There are a number of techniques to join crocheted pieces together. In this tutorial, we will go over the method I like the most and find more useful: the flat slip stitch. Although this demonstration is used for seaming two ends together, you could use this technique to join other things, such as granny squares. If you’ve been afraid of seaming too, today I’m here to help!
TIPS —
- It's best to have the same amount of stitches on both edges.
- Use the same crochet hook you used to crochet your squares or pieces.
- For invisible results, use the same fiber you used for the project. However, you may use a contrasting yarn for design purposes.
- If you are joining granny squares, it is best to block them before joining them together.
The Flat Slip Stitch to join crochet pieces together —
Step 1: Line up the edges to be seamed, right side facing. Use locking stitch markers or scrap pieces of yarn to help hold your work together.
Step 2: Place the working yarn underneath the pieces to be seamed.
Step 3: Insert your hook from front to back into the back loop only of a stitch from the edge on the left, insert your hook from front to back into the back loop only of a stitch from the edge on the right, and work a slip stitch (yarn over, pull up a loop and pull it through all loops on your hook to complete the slip stitch and join your yarn).
Step 4: Repeat Step 3 until the last stitch you have to complete the join.
As you see, to work this flat seam you alternate which side you insert your hook into. First, you work one edge, then the other. It doesn’t make a difference which edge goes first (right or left), you just need to always insert the hook into the same edge first.
Techniques to remember this method —
- The right side is always facing up.
- It is important to ensure that your yarn is always at the back of your work.
- You will always work through the back loops only of your stitches.
- You will insert your hook into the stitch from front to back.
- The edge you begin, always goes first.
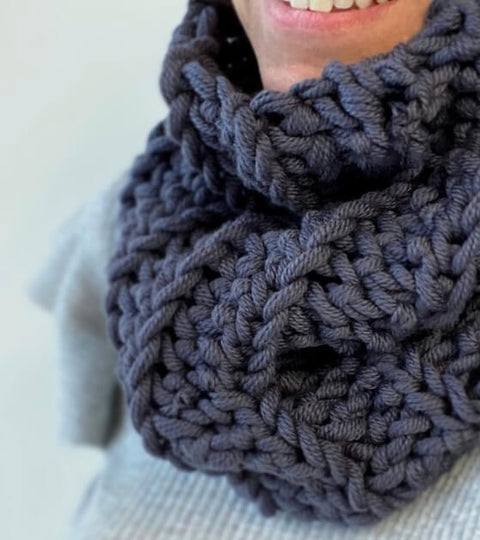
Now let’s see the Flat Slip Stitch technique to join crochet pieces together in action! Check my free pattern or beautiful kit, the Easy Rib Cowl